

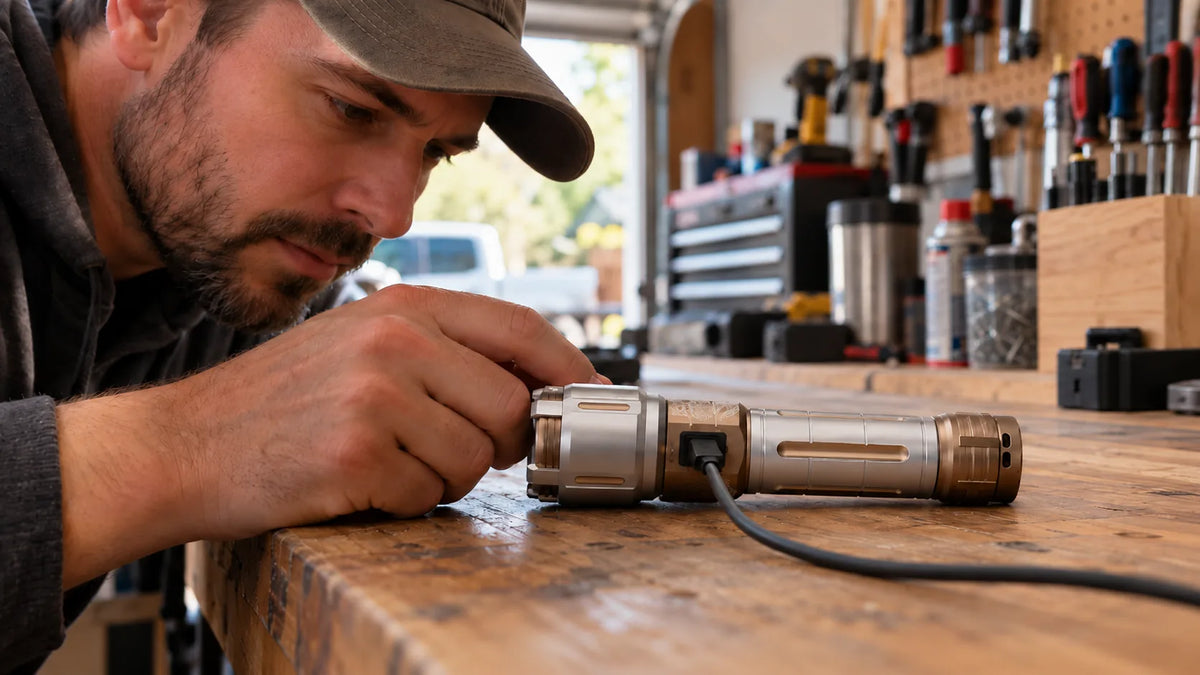
If a rechargeable flashlight is not charging, start with the simple power path: test the cable and power source, inspect the charging port for dirt or damage, and confirm that the battery compartment and contacts are correctly installed. Most charging problems come from a loose connection, an incompatible or failed cable, a blocked port, or a battery that has been stored for a long time. Work through the checks below in order, and stop using the flashlight if the battery becomes hot, swollen, leaking, or physically damaged.
Charging indicators differ by model, so use the instructions supplied with your flashlight as the final reference. A light that does not turn on immediately is not always a failed battery; some devices need a stable connection for a moment before the indicator changes.
Start with a safe power check
Disconnect the flashlight and look at the entire charging chain: wall outlet or power bank, charging adapter, cable, connector, and flashlight port. Try a known-good outlet and, if the product allows it, a compatible power source that matches the instructions. Avoid forcing a connector or repeatedly plugging and unplugging at an angle.
Test the cable with another compatible device only if doing so is safe and the connector type matches. A cable can look normal while its internal conductors are broken near the plug. If the cable becomes unusually warm, smells burnt, or shows exposed wires, retire it instead of trying to repair it.
Inspect the charging port
Turn the flashlight off and inspect the port under good light. Pocket lint, sand, and dried moisture can prevent the plug from seating fully. Hold the port facing downward and gently remove loose debris with a soft, dry brush or a puff of air intended for electronics. Do not insert metal tools, pour liquid into the port, or scrape the contacts.
Check whether the connector feels loose after it is inserted. A port that moves, has bent contacts, or shows corrosion may need professional service. Do not continue charging a device that has visible liquid damage until it has been assessed and fully dried according to the manufacturer's guidance.
Check the battery setup
Some rechargeable flashlights use a built-in battery, while others use a removable rechargeable cell. Follow the product instructions for your exact design. If the battery is removable, switch the flashlight off, remove the cell, and confirm that any factory shipping film or insulating tab has been removed. Reinstall the cell with the positive and negative ends aligned to the markings.
Do not mix cells of different types, capacities, ages, or charge levels unless the manufacturer specifically allows it. Never substitute a loose battery with an unknown cell or bypass a protection circuit. If the battery is swollen, dented, cracked, leaking, or unusually hot, place the flashlight on a nonflammable surface away from combustible materials and contact the seller or manufacturer for handling instructions.
Understand charging indicator lights
An indicator may glow red, amber, or another color while charging and change color, turn green, or switch off when charging is complete. Some models blink during charging; others show a brief light when the cable is connected. These patterns are not universal, so do not assume that one color has the same meaning on every flashlight.
If the indicator stays dark, reseat the cable once and test the outlet and cable separately. If the indicator turns on but never changes after the expected charging period, unplug the flashlight and check the manual for its normal behavior. A faulty indicator does not prove that the battery is empty, and a lit indicator does not prove that the battery is accepting a full charge.
What to do after long storage
A flashlight stored for months may have a deeply discharged battery. Move it to a dry, room-temperature area and connect the approved charging setup for the period stated in the instructions. Give the indicator time to respond; avoid rapidly changing chargers or repeatedly cycling the connection.
If there is still no response after a normal charging attempt, disconnect it and contact support. Do not open a sealed battery pack, jump-start a cell, or connect the battery directly to another power source. Lithium-ion cells can be damaged by incorrect charging and can present a fire hazard even when the flashlight appears inactive.
A step-by-step troubleshooting sequence
Use this order so you change one variable at a time:
- Turn the flashlight off and let it return to room temperature.
- Check the outlet or power bank and confirm it works with another appropriate device.
- Inspect the cable and connector for cuts, bent parts, looseness, or heat damage.
- Inspect the flashlight port for lint, sand, moisture, corrosion, or bent contacts.
- Reconnect the approved cable firmly without forcing it, then watch the indicator.
- If the battery is removable, confirm the correct type, orientation, and removal of any insulating film.
- Leave the flashlight connected for the normal charging period listed in its instructions.
- Stop immediately if you notice heat, smoke, odor, swelling, leakage, or unusual sounds.
When the charging problem may be outside your control
Contact the seller or manufacturer when a known-good charging setup produces no indicator, the port is loose or damaged, the battery will not hold a charge, or the flashlight shuts down repeatedly during charging. Include the model name, purchase details, the power source and cable you tested, and what the indicator did. A short video or clear photo of the port can help support identify the issue without asking you to open the unit.
Ask for the correct charging instructions before buying a replacement cable or battery. Product revisions can use different connectors or charging requirements, and an accessory that fits physically may still be unsuitable electrically. Keep the original instructions and any included charging accessories until the issue is resolved.
Simple habits that prevent charging failures
- Keep the port covered when the flashlight design includes a protective cover.
- Store the light in a dry place at a moderate temperature, away from direct heat.
- Use the supplied or manufacturer-approved charging method.
- Do not pull the cable by its wire or carry the flashlight by the connected cable.
- Clean dirt from the exterior before opening a battery compartment.
- Charge before a trip and check the indicator rather than assuming the battery is full.
- Retire cables and batteries that show wear, swelling, corrosion, or heat damage.
Never puncture, crush, short, solder, or disassemble a rechargeable battery to make a flashlight charge. Safe troubleshooting ends with inspection and support, not an improvised battery repair.
If you are replacing a light after a confirmed charging failure, review the SKYFIRE rechargeable flashlight collection and check the product page for the exact charging method and specifications.
A non-charging flashlight is usually solved by tracing the power path carefully, but not every failure is user-serviceable. Check the cable, source, port, indicator, and battery setup in that order. Stop when the device shows physical or thermal damage, and let the manufacturer or seller handle the next step.
Before contacting support, write down the exact symptoms: whether the indicator flashes, whether the light turns on while connected, how long it was stored, and which cable and power source you tested. This short record helps the support team separate a connection issue from a battery or charging circuit problem and reduces repeated trial and error.



Leave a comment
This site is protected by hCaptcha and the hCaptcha Privacy Policy and Terms of Service apply.